WordPress is like a garden if you have HTML CSS PHP JS knowledge, you can extend your site looks and function easily. Also, you can outrun your competitor. In present days, around 40% websites run on WordPress. Amazing Nah?
Generally, WordPress comes with few default themes. You can extend them by creating a child theme, you can make a new theme too. In this tutorial, I will show you how to create a WordPress Child theme in just 5 minutes that export all the functions from the Parent theme.
Create WordPress Child Theme Step by Step
Step 1 (1 minute):
First, create a folder in the same directory of the parent theme. The themes directory can be browsed through FTP or CPanel file manager or XAMP/WAMP/MAMP’s htdocs. You know where your WordPress file located. Rename it, let’s say we are making twenty sixteens’ child theme, “Twenty Sixteen Child”.
Step 2(2 minutes):
Now, copy the parent theme’s stylesheet to the child theme folder. Remove everything except these lines….
/*
Theme Name: Twenty Sixteen
Theme URI: https://wordpress.org/themes/twentysixteen/
Author: the WordPress team
Author URI: https://wordpress.org/
Description: Twenty Sixteen is a modernized take on an ever-popular WordPress layout — the horizontal masthead with an optional right sidebar that works perfectly for blogs and websites. It has custom color options with beautiful default color schemes, a harmonious fluid grid using a mobile-first approach, and impeccable polish in every detail. Twenty Sixteen will make your WordPress look beautiful everywhere.
Version: 1.3
License: GNU General Public License v2 or later
License URI: http://www.gnu.org/licenses/gpl-2.0.html
Tags: one-column, two-columns, right-sidebar, accessibility-ready, custom-background, custom-colors, custom-header, custom-menu, editor-style, featured-images, flexible-header, microformats, post-formats, rtl-language-support, sticky-post, threaded-comments, translation-ready, blog
Text Domain: twentysixteen
This theme, like WordPress, is licensed under the GPL.
Use it to make something cool, have fun, and share what you’ve learned with others.
*/
Now, replace those line to these…
/*
Theme Name: Twenty Sixteen Child
Theme URI: https://wordpress.org/themes/twentysixteen/
Author: Your Name
Author URI: https://yoursite.com/
Template: twentysixteen
Description: Twenty Sixteen is a modernized take on an ever-popular WordPress layout — the horizontal masthead with an optional right sidebar that works perfectly for blogs and websites. It has custom color options with beautiful default color schemes, a harmonious fluid grid using a mobile-first approach, and impeccable polish in every detail. Twenty Sixteen will make your WordPress look beautiful everywhere.
Version: 1.3
License: GNU General Public License v2 or later
License URI: http://www.gnu.org/licenses/gpl-2.0.html
Tags: one-column, two-columns, right-sidebar, accessibility-ready, custom-background, custom-colors, custom-header, custom-menu, editor-style, featured-images, flexible-header, microformats, post-formats, rtl-language-support, sticky-post, threaded-comments, translation-ready, blog
Text Domain: twentysixteen-child
This theme, like WordPress, is licensed under the GPL.
Use it to make something cool, have fun, and share what you’ve learned with others.
*/
Did you notice the difference? See, you need to add an extra line Template: twentysixteen . Without this line, your themes will look broken. Be aware that it is case-sensitive. So put the right name. This part in very important. Also, edit the theme name, author name, author website, and theme text-domain as you wish. If you wish you can remove the extra texting. No matter.
To show themes thumbnail in themes page, copy an image to the child theme folder and rename it “screenshot”.
Step 3(2 minutes):
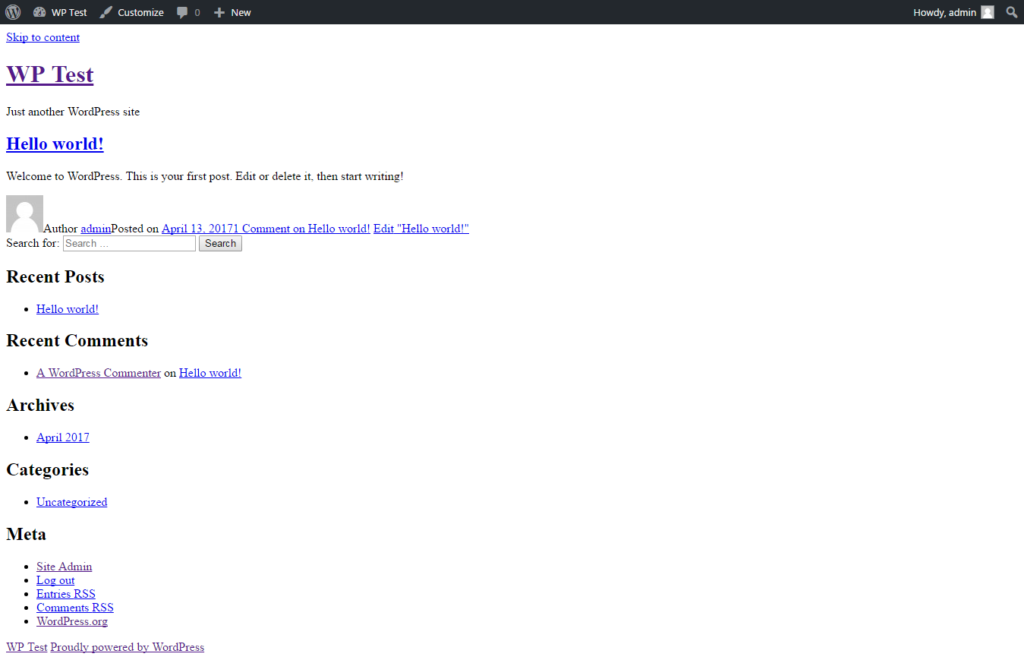
Now, activate the child theme and visit your site. You will see site looks awkward.

Don’t worry. It means your stylesheet is empty. So you need to import parent theme CSS to the child theme.
Add this line in the style.css in the child theme.
@import url(“../twentysixteen/style.css”);
Now, refresh your site and it looks fine. 🙂 You are apparently done. Time to start customizing its CSS as you wish.
For Developers
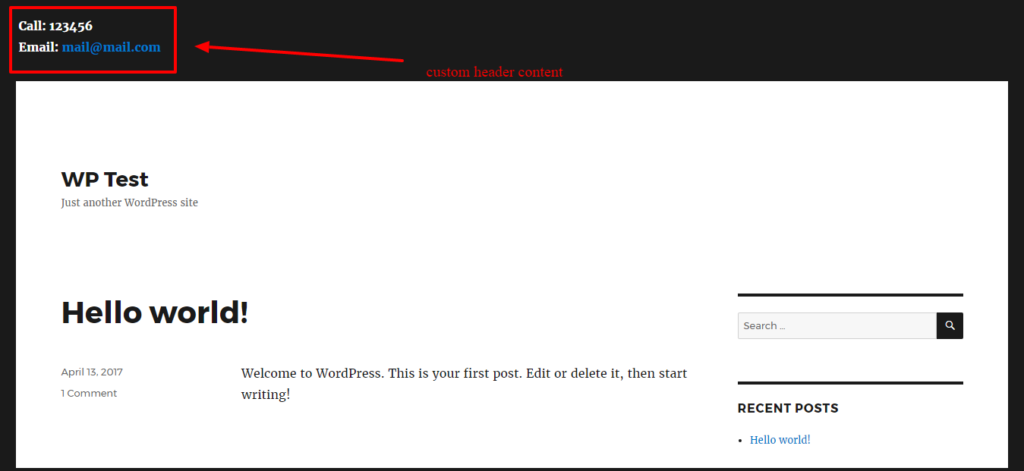
For further development of the child themes, you need to add a functions.php file. Where you can add PHP codes to add extra functionality. For an instance, if you wish to add something in header.php. It’s better writing few codes in functions.php than creating a header.php file in the child theme.
add_action('wp_head', 'mwp_header');
function mwp_header(){
    ?>
    Add your codes here. example: Meta tags, google analytics code, extra text etc.
    <?php
}
Generally, most of the WordPress themes work this way. The question is why we need to create a child theme in WordPress? Well, Parent themes are updating regularly. Suppose if you made some CSS or PHP changes in the parent theme. When you update the parent theme to its latest version, you lose everything you made changes earlier. So, it’s better to make a child theme and make changes as your wish there. When your Parent theme updated, just replace the previous version of parent theme with the latest version. You won’t lose anything cause your child theme has already got every function from parent themes automatically.


